
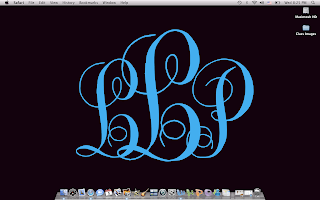
Last week, I showed you a monogram I created for my desktop background (click here). Today, I'm going to show you how I did it. So, now you'll be able to make your own monogram!
1. Go here to download this monogram font
2. Read the directions here on how to download fonts
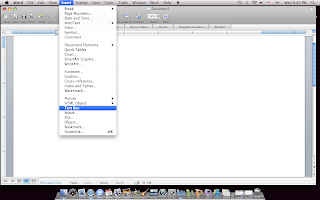
3. Open Microsoft Word
4. Install a text box

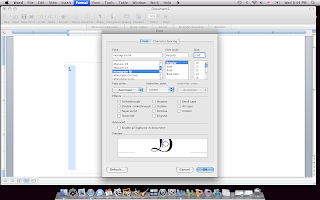
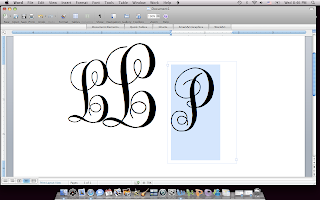
5. Add your initial using the monogram font. I made mine a size 200 for the middle letter and 150 for the two side letters. You will need three text boxes-one for each letter. The reason you add text boxes, rather than just typing it out, is so you can move the text boxes around.
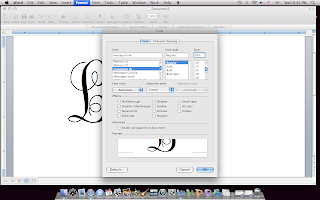
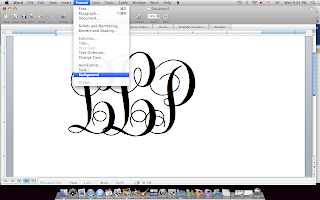
6. To get your monogram just right, you'll have to play around with the size, how you want the letters to overlap (having text boxes allows you to move the boxes so the letters overlap) and your colors (background).
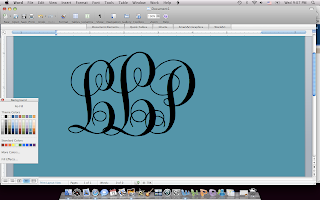
7. When you get it like you like it, save your monogram and add it as your background. You could also use this to create your own note cards and such!
I hope this helps! I'll be happy to try to answer any questions.
3 comments:
Thank you!!!
I have spent the last 45 minutes playing with my monogram.
Thanks for the tutorial! I think these will be great done as iron-on appliques for t-shirts and onesies!
seriously this just helped me create my monogram for my programs. thank you!
Post a Comment