Showing posts with label DIY. Show all posts

Make It A Monogram: Tutorial


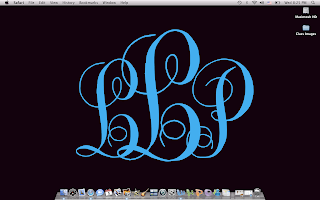
Last week, I showed you a monogram I created for my desktop background (click here). Today, I'm going to show you how I did it. So, now you'll be able to make your own monogram!

1. Go here to download this monogram font

2. Read the directions here on how to download fonts 

3. Open Microsoft Word

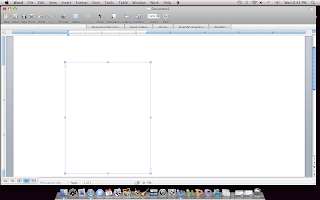
4. Install a text box
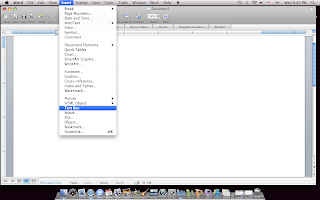

5. Add your initial using the monogram font. I made mine a size 200 for the middle letter and 150 for the two side letters. You will need three text boxes-one for each letter. The reason you add text boxes, rather than just typing it out, is so you can move the text boxes around.
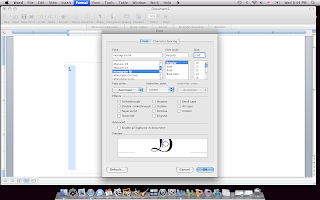
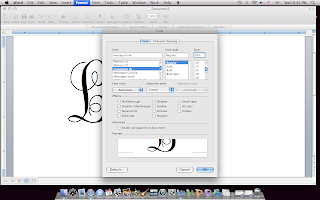

6. To get your monogram just right, you'll have to play around with the size, how you want the letters to overlap (having text boxes allows you to move the boxes so the letters overlap) and your colors (background).
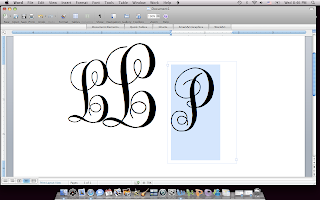
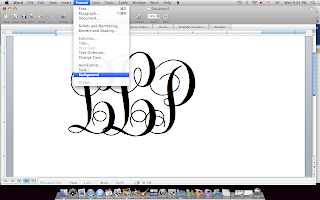
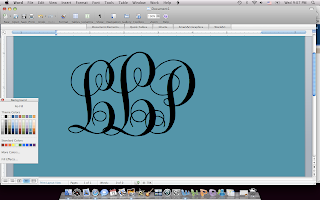
7. When you get it like you like it, save your monogram and add it as your background. You could also use this to create your own note cards and such!

I hope this helps! I'll be happy to try to answer any questions.

Make It A Monogram

I love a monogrammed anything. There is just something so classy about them. Well, one day I saw a monogram as a desktop background. I thought it was a fabulous idea. So, I went about making my own. It was actually pretty easy. 


What do you think? This is a screen shot from my computer. I love, love, love it! I'm working on a tutorial so you can all have one of your own! I know, very exciting stuff!!! So, stay tuned and it will be up sometime next week!

Don't forget about Sister See tomorrow. I'll be showing you something so pretty from my sister's house. You won't want to miss it!!!

Spring Fling: DIY Nest Wreath


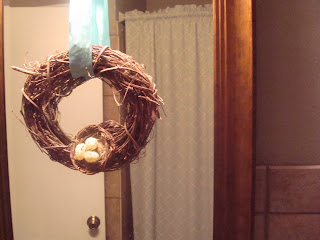
I'm loving all of the little nests I've seen around blogland. And, I'm always looking for any excuse to make a wreath. So, I made myself a little nest wreath. A small grapevine wreath, a tiny nest, some mini Easter eggs, and a pretty, little ribbon is all you need. I hung mine over the mirror in the bathroom. It's a great little addition for spring!


DIY-Framed Chalkboard


After seeing these all around blogland, I knew this was a project I'd like to try. It's only taken me six months to make it happen. This was super easy, though. Here's what you need:

-frame of your choice (mine is 16x20)
-piece of smooth wood cut to fit frame
-chalkboard paint
-paintbrush
-hubby (optional)
-ribbon (also optional)
-chalk


I got my frame (no glass or back) at Hobby Lobby during their recent 66% off clearance, it was $12. Hubby got me a smooth piece of wood cut just right. I painted the wood with a couple of coats of chalkboard paint and let that dry. Then hubby nailed the painted wood in the frame. I tied on some ribbon, hung it up and wrote a little message. And, there you have it - a framed chalkboard. I'm loving it hanging in my kitchen!